Maintaining optimal humidity in your home is vital for comfort and health, especially during dry seasons. At the heart of many humidifiers lies the wick filter, a component crucial for both performance and hygiene. But like any working part, it needs attention. If you’ve ever wondered how to keep your humidifier running efficiently, or if you’re ready to tackle a simple home maintenance task, this comprehensive DIY guide to changing your humidifier wick filter is for you. We’ll walk you through each step, ensuring your humidifier continues to deliver clean, comfortable air.
What is a Humidifier Wick Filter and Why Does it Matter?
A humidifier wick filter, often simply called a humidifier filter, is a porous, absorbent component found in evaporative humidifiers. Its primary role is to draw water from the humidifier’s reservoir and expose it to the airflow generated by the unit’s fan. As air passes through the saturated wick, water naturally evaporates into the room, increasing humidity levels.
Beyond its core function, the wick acts as a crucial barrier, trapping minerals and impurities present in the water. This process prevents these unwelcome particles from being released into your air as “white dust,” a common issue with some other humidifier types. A well-functioning wick filter ensures that the moisture dispersed into your environment is clean and beneficial, helping to alleviate dry skin, irritated throats, and static electricity, while protecting your home’s wooden furnishings. When the wick becomes clogged or compromised, its ability to absorb water and facilitate evaporation diminishes, leading to reduced efficiency and potentially poorer air quality.
How Often Should You Change Your Humidifier Wick Filter?
The frequency with which you should replace your humidifier wick filter can vary, but a general guideline suggests changing it every 30 to 90 days. However, several factors significantly influence this timeframe, including the hardness of your tap water, how often you use your humidifier, and the overall air quality in your home.
Hard water, which contains a higher concentration of minerals, will cause buildup on the wick filter much faster than soft or distilled water. If you run your humidifier continuously, the wick will also wear out more quickly. It’s essential to pay attention to visual cues and your humidifier’s performance. Signs that your wick filter needs changing include:
- Discoloration: The filter appears brown, yellow, or crusty.
- Hardness: The wick feels stiff and rigid due to mineral deposits.
- Reduced Moisture Output: Your humidifier isn’t producing as much humidity as it used to, or the fan runs but little mist is apparent.
- Odor: An unpleasant smell emanating from the humidifier, often indicating bacterial or mold growth.
Prompt replacement upon noticing these signs ensures your humidifier operates effectively and maintains a healthy indoor environment.
Step-by-Step Guide: DIY Humidifier Wick Filter Replacement
Changing your humidifier wick filter is a straightforward process that anyone can do. Following these steps will ensure a proper and safe replacement.
1. Safety First: Turn Off and Unplug Your Humidifier
|
Our Picks for the Best Humidifier in 2026
As an Amazon Associate I earn from qualifying purchases.
|
||
| Num | Product | Action |
|---|---|---|
| 1 | Dreo Smart Humidifiers for Bedroom, Top Fill 4L Supersized Humidifier Large Room with 28 dB, 36H Runtime, Touch/APP/Voice Control, Nightlight, Cool Mist Humidifiers for Baby, Plants, Indoor, Black |

|
| 2 | LEVOIT - Humidifiers for Bedroom - Quiet (3L Water Tank) - Cool Mist/Top Fill/Essential Oil Diffuser/25Watt - Home/Large Room - 360° Nozzle - Rapid Ultrasonic Humidification for Baby Nursery/Plant |
|
| 3 | BREEZOME 6L Humidifiers for Bedroom Large Room & Essential Oil Diffuser, Ultrasonic Top Fill Cool Mist Humidifiers for Baby, Plants, Nursery Last up to 60 Hours, Smart Humidistat Control, Quiet, Black |
|
| 4 | BOXING 3L Cool Mist Humidifiers, Ultra Quiet 20dB for Bedroom, Baby & Office, Top Fill Air Humidifier for Large Room Home & Indoor Plants, 30H Runtime, Essential Oil Tray, Night Light, BPA-Free, White |
|
| 5 | Homvana Humidifiers for Bedroom Home, 3.6 L Cool Mist Top-Fill 34H Super Long Time, Quiet 23dB, Baby Humidifier, Oil Diffuser for Large Room, House, Plant, Nursery, Office, BPA FREE, Ultrasonic (Grey) |
|
| 6 | Dreo Humidifiers for Bedroom, 4L Top Fill for Large Room, 36H Runtime, 28 dB Quiet Supersized Cool Mist Air Humidifier for Baby Nursery, Plants, Indoor, Night Light, Easy to Clean & Fill, White |
|
| 7 | Humidifiers for Bedroom Large Room with 7L/1.85Gal Large Humidifier, Smart App & Remote Control, 4 Mist Levels Large Room Humidifiers for Home Midnight |
|
| 8 | MegaWise Topfill 7-colour Night light humidifier for Kid bedroom with 3.5L Large Capacity, No leakage Design Fine Mist Output Auto Shutoff, Essential Oil Safe Tank |
|
| 9 | LEVOIT Humidifiers for Bedroom Large Room Home, (6L) Cool Mist Top Fill Essential Oil Diffuser for Baby & Plants, Smart App & Voice Control, Rapid Humidification & Auto Mode - Quiet Sleep Mode, Gray |
|
| 10 | LEVOIT Top Fill Humidifiers for Bedroom, 2.5L Tank for Large Room, Easy to Fill & Clean, 28dB Quiet Cool Mist Air Humidifier for Home Baby Nursery & Plants, Auto Shut-off for Safety, 25H |
|
Before you begin any maintenance, always prioritize safety. Locate your humidifier’s power button and turn it off. Then, unplug the unit from the electrical outlet. This prevents any accidental activation and protects you from electrical hazards.
2. Remove the Water Tank
Carefully lift or slide out the water tank from the humidifier’s base. Depending on your model, you might need to unscrew a cap or release a latch. If there’s any water remaining in the tank, empty it into a sink. Set the empty tank aside on a clean, dry surface.
3. Access the Filter Compartment
The wick filter is typically housed in the base of the humidifier. You may need to remove a top cover, lift a housing, or unlatch a component to gain access. Refer to your humidifier’s owner’s manual if you’re unsure how to open your specific model.
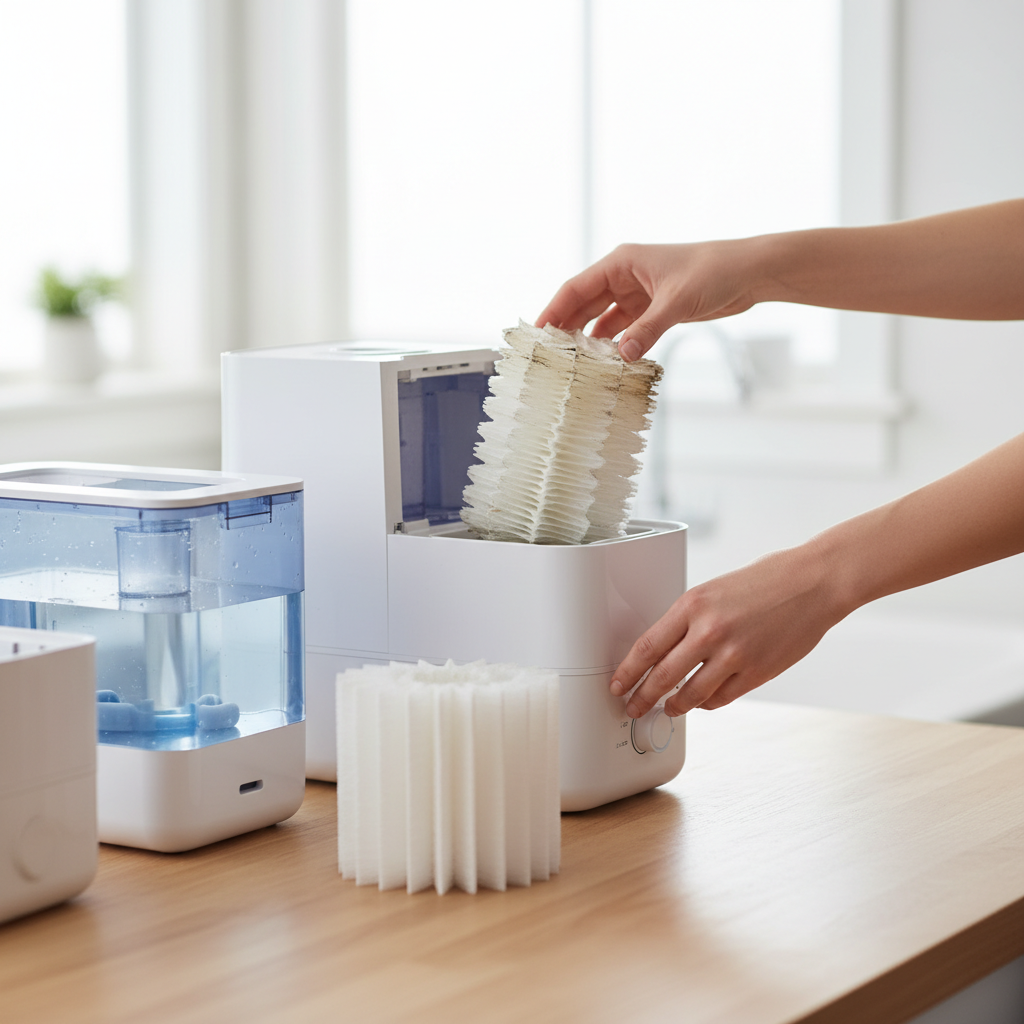
4. Remove the Old Wick Filter
Once the filter compartment is accessible, carefully lift out the old wick filter. It will likely be wet, possibly discolored, and stiff with mineral deposits. Take note of how it was oriented in the unit, as you’ll need to install the new filter in the same way. Dispose of the old filter responsibly.
5. Clean the Humidifier Base (Crucial Step)
This step is optional but highly recommended for extending the life of your new filter and maintaining hygiene. With the old filter removed, wipe out the inside of the humidifier base with a soft cloth. If you notice any scale, slime, or mineral buildup, clean it with a solution of white vinegar and water (typically a 1:1 ratio). Let the solution sit for 20-30 minutes on stubborn deposits, then scrub gently with a soft brush or sponge. Rinse the base thoroughly with clean water to remove any vinegar residue before proceeding.
6. Insert the New Wick Filter
Unpack your new humidifier wick filter. Place the new wick into the filter compartment, ensuring it sits securely and is oriented correctly, just as the old one was. Make sure it’s fully seated and doesn’t wobble.
7. Reassemble the Humidifier
Once the new filter is in place, reattach any covers, latches, or components you removed earlier. Place the cleaned and refilled water tank back onto the base, ensuring it’s properly aligned and secured.
8. Power On and Test
Plug your humidifier back into the electrical outlet and turn it on. Observe the unit to ensure it’s operating normally. You should notice improved mist or humidity output, indicating that your new wick filter is effectively doing its job.
Tips for Extending Your Humidifier Wick Filter’s Life (and Humidifier Health)
While wick filters need regular replacement, you can take steps to optimize their performance and prolong their useful life, while also keeping your humidifier in top condition.
- Flip the Filter Regularly: One simple yet effective trick is to flip your wick filter every time you refill the water tank. This helps ensure even saturation and drying, preventing one side from becoming overly caked with minerals.
- Use Distilled or Demineralized Water: Hard water is the enemy of humidifier wick filters. Using distilled, demineralized, or filtered water significantly reduces mineral buildup, allowing your filter to last longer and function more efficiently.
- Regularly Clean the Humidifier’s Base and Tank: Beyond just changing the filter, regular cleaning of the water tank and base with a vinegar solution or humidifier cleaning solution prevents the growth of mold, mildew, and bacteria, which can contaminate your new filter and the air you breathe.
- Avoid Cleaning the Wick Itself with Chemicals: Humidifier wicks are typically made of paper-like material that is not designed to be cleaned. Using soap, vinegar, or harsh chemicals directly on the wick can damage its structure, reduce its wicking ability, and potentially release harmful residues into the air. If a wick appears heavily soiled, replacement is the best option.
- Ensure Proper Storage During Off-Season: If you store your humidifier for an extended period, ensure the wick is completely dry to prevent mold growth. It’s often best to install a fresh wick when you bring the humidifier out of storage.
Common Questions About Humidifier Wick Filters
“Regular maintenance, especially wick filter replacement, is the single most impactful action you can take to ensure your humidifier operates safely and effectively. It’s a small effort for significant health and comfort benefits.” – Admin, Reviewook.com, Humidifier Specialist with 10+ Years Experience
Can I clean my humidifier wick filter instead of replacing it?
Generally, it is not recommended to clean humidifier wick filters. They are designed to trap minerals and impurities, and attempting to wash them with soap, vinegar, or other chemicals can damage their absorbent material, making them less effective or even introducing unwanted substances into your air. Replacement is usually the best and safest option for optimal performance.
What happens if I don’t change my humidifier wick filter?
If you neglect to change your humidifier wick filter, several problems can arise. The filter will become clogged with mineral deposits, severely reducing its ability to absorb water and release moisture into the air. This leads to decreased humidifier efficiency and lower humidity levels. Furthermore, a dirty, stagnant wick can become a breeding ground for mold, mildew, and bacteria, potentially releasing these contaminants into your living space and affecting air quality.
Are all humidifier wick filters the same?
No, humidifier wick filters are not universally interchangeable. Each humidifier model is typically designed to work with a specific type and size of wick filter. Always refer to your humidifier’s owner’s manual or the manufacturer’s recommendations to ensure you purchase the correct replacement filter for your unit. Using an incorrect filter can impede performance or even damage your humidifier.
Conclusion
Taking on the simple task of changing your humidifier wick filter is a small act of maintenance that yields significant rewards. By following a few easy steps, you ensure your humidifier functions at its best, providing clean, healthy moisture to your home. Regular filter replacement and basic cleaning not only extend the life of your appliance but also contribute to a more comfortable living environment, free from dry air woes and airborne irritants. Don’t underestimate the power of a fresh wick to transform your indoor air quality.
Are you ready to experience the difference a well-maintained humidifier can make in your home?
Frequently Asked Questions
How can I tell if my humidifier wick filter needs changing?
You’ll notice signs like visible discoloration (brown, yellow, crusty), a hard and stiff texture, a decrease in the humidifier’s moisture output, or an unpleasant odor coming from the unit. These are clear indicators that it’s time for a replacement to maintain efficiency and hygiene.
Is it okay to run a humidifier without a wick filter?
No, evaporative humidifiers require a wick filter to function properly. Without a wick, the humidifier will simply act as a fan, circulating air without adding any significant moisture. The wick is essential for absorbing water and facilitating its evaporation into the air.
Why is my new humidifier filter not wicking water?
If your new filter isn’t wicking, first ensure it’s installed correctly and fully submerged in water. Sometimes, a new filter may need a short period to become fully saturated. Air bubbles trapped in the filter can also prevent wicking; try gently pressing on the filter to release them.
What’s the difference between a wick filter and other humidifier filters?
Wick filters are specific to evaporative humidifiers, absorbing water for natural evaporation. Other humidifiers, like ultrasonic models, might use demineralization cartridges to prevent white dust, while whole-house humidifiers often use larger water panels. Each filter type serves a different function based on the humidifier’s technology.
Can hard water damage my humidifier?
Yes, hard water can significantly impact your humidifier. Its high mineral content leads to rapid buildup on wick filters, causing them to harden, clog, and lose effectiveness faster. This not only shortens the filter’s lifespan but can also lead to mineral deposits accumulating on other internal components, potentially reducing the humidifier’s overall efficiency and longevity.